

Paver Restoration in Ocala Preserve – Ocala, Florida
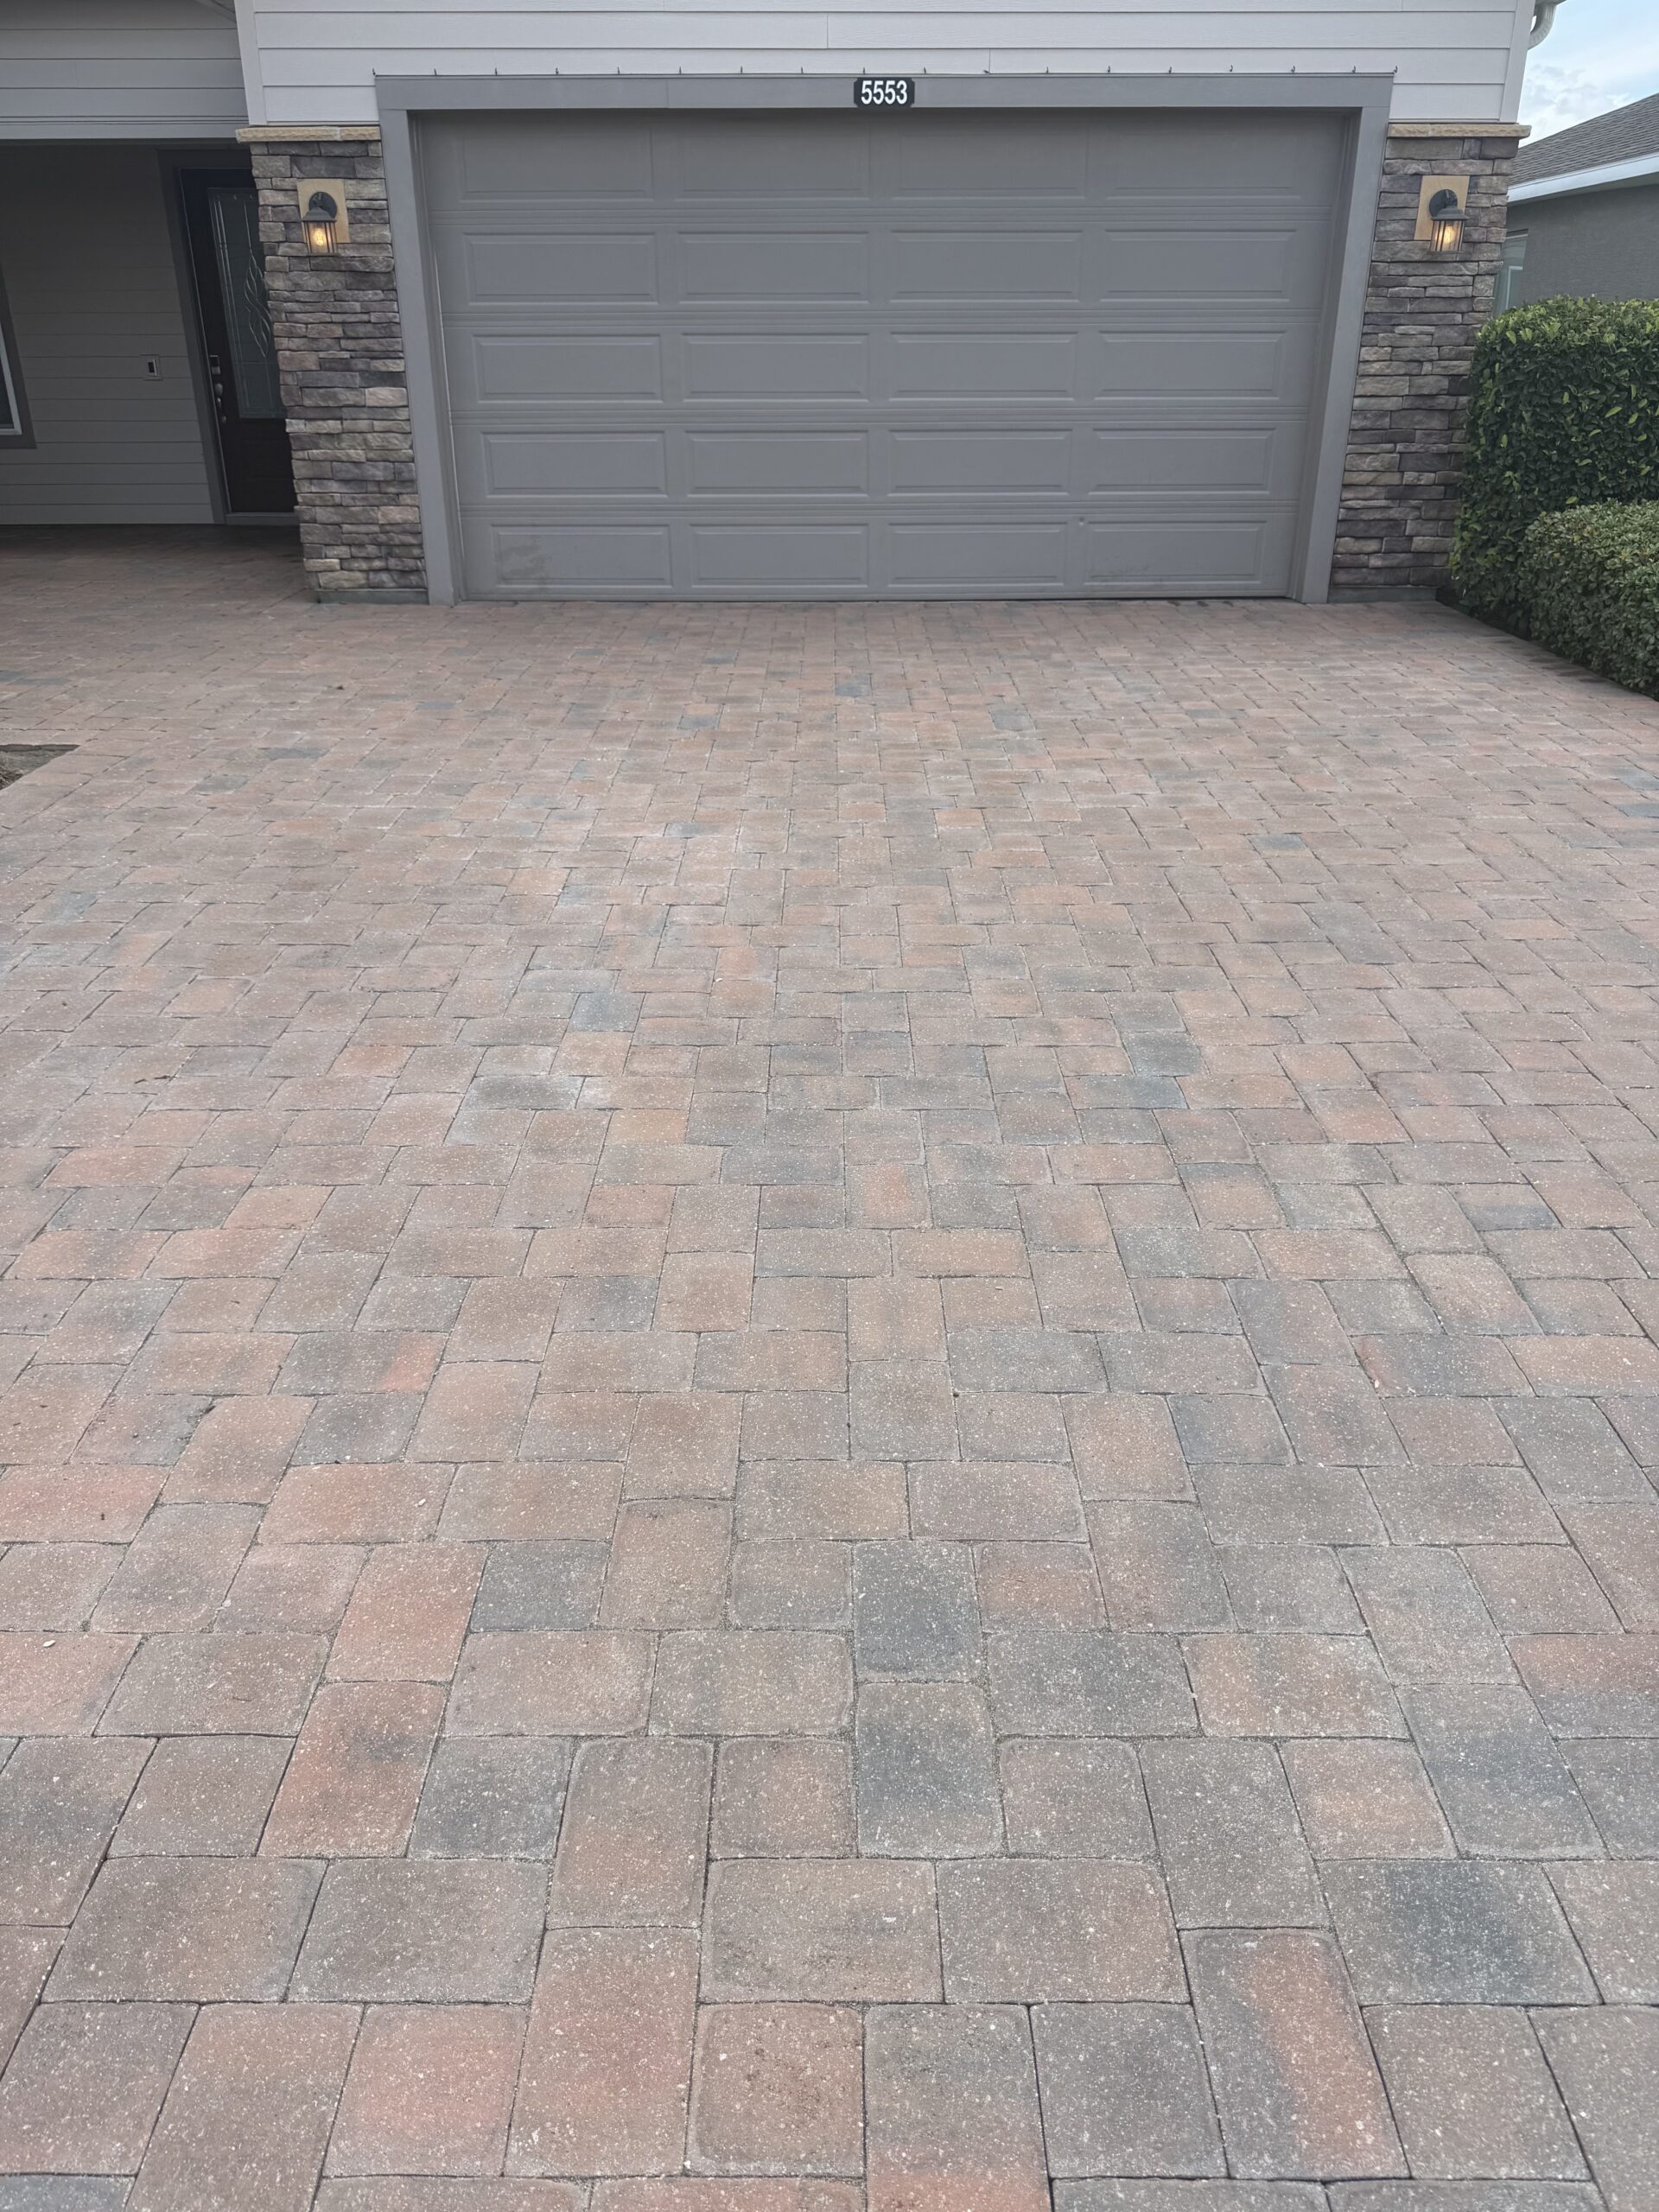
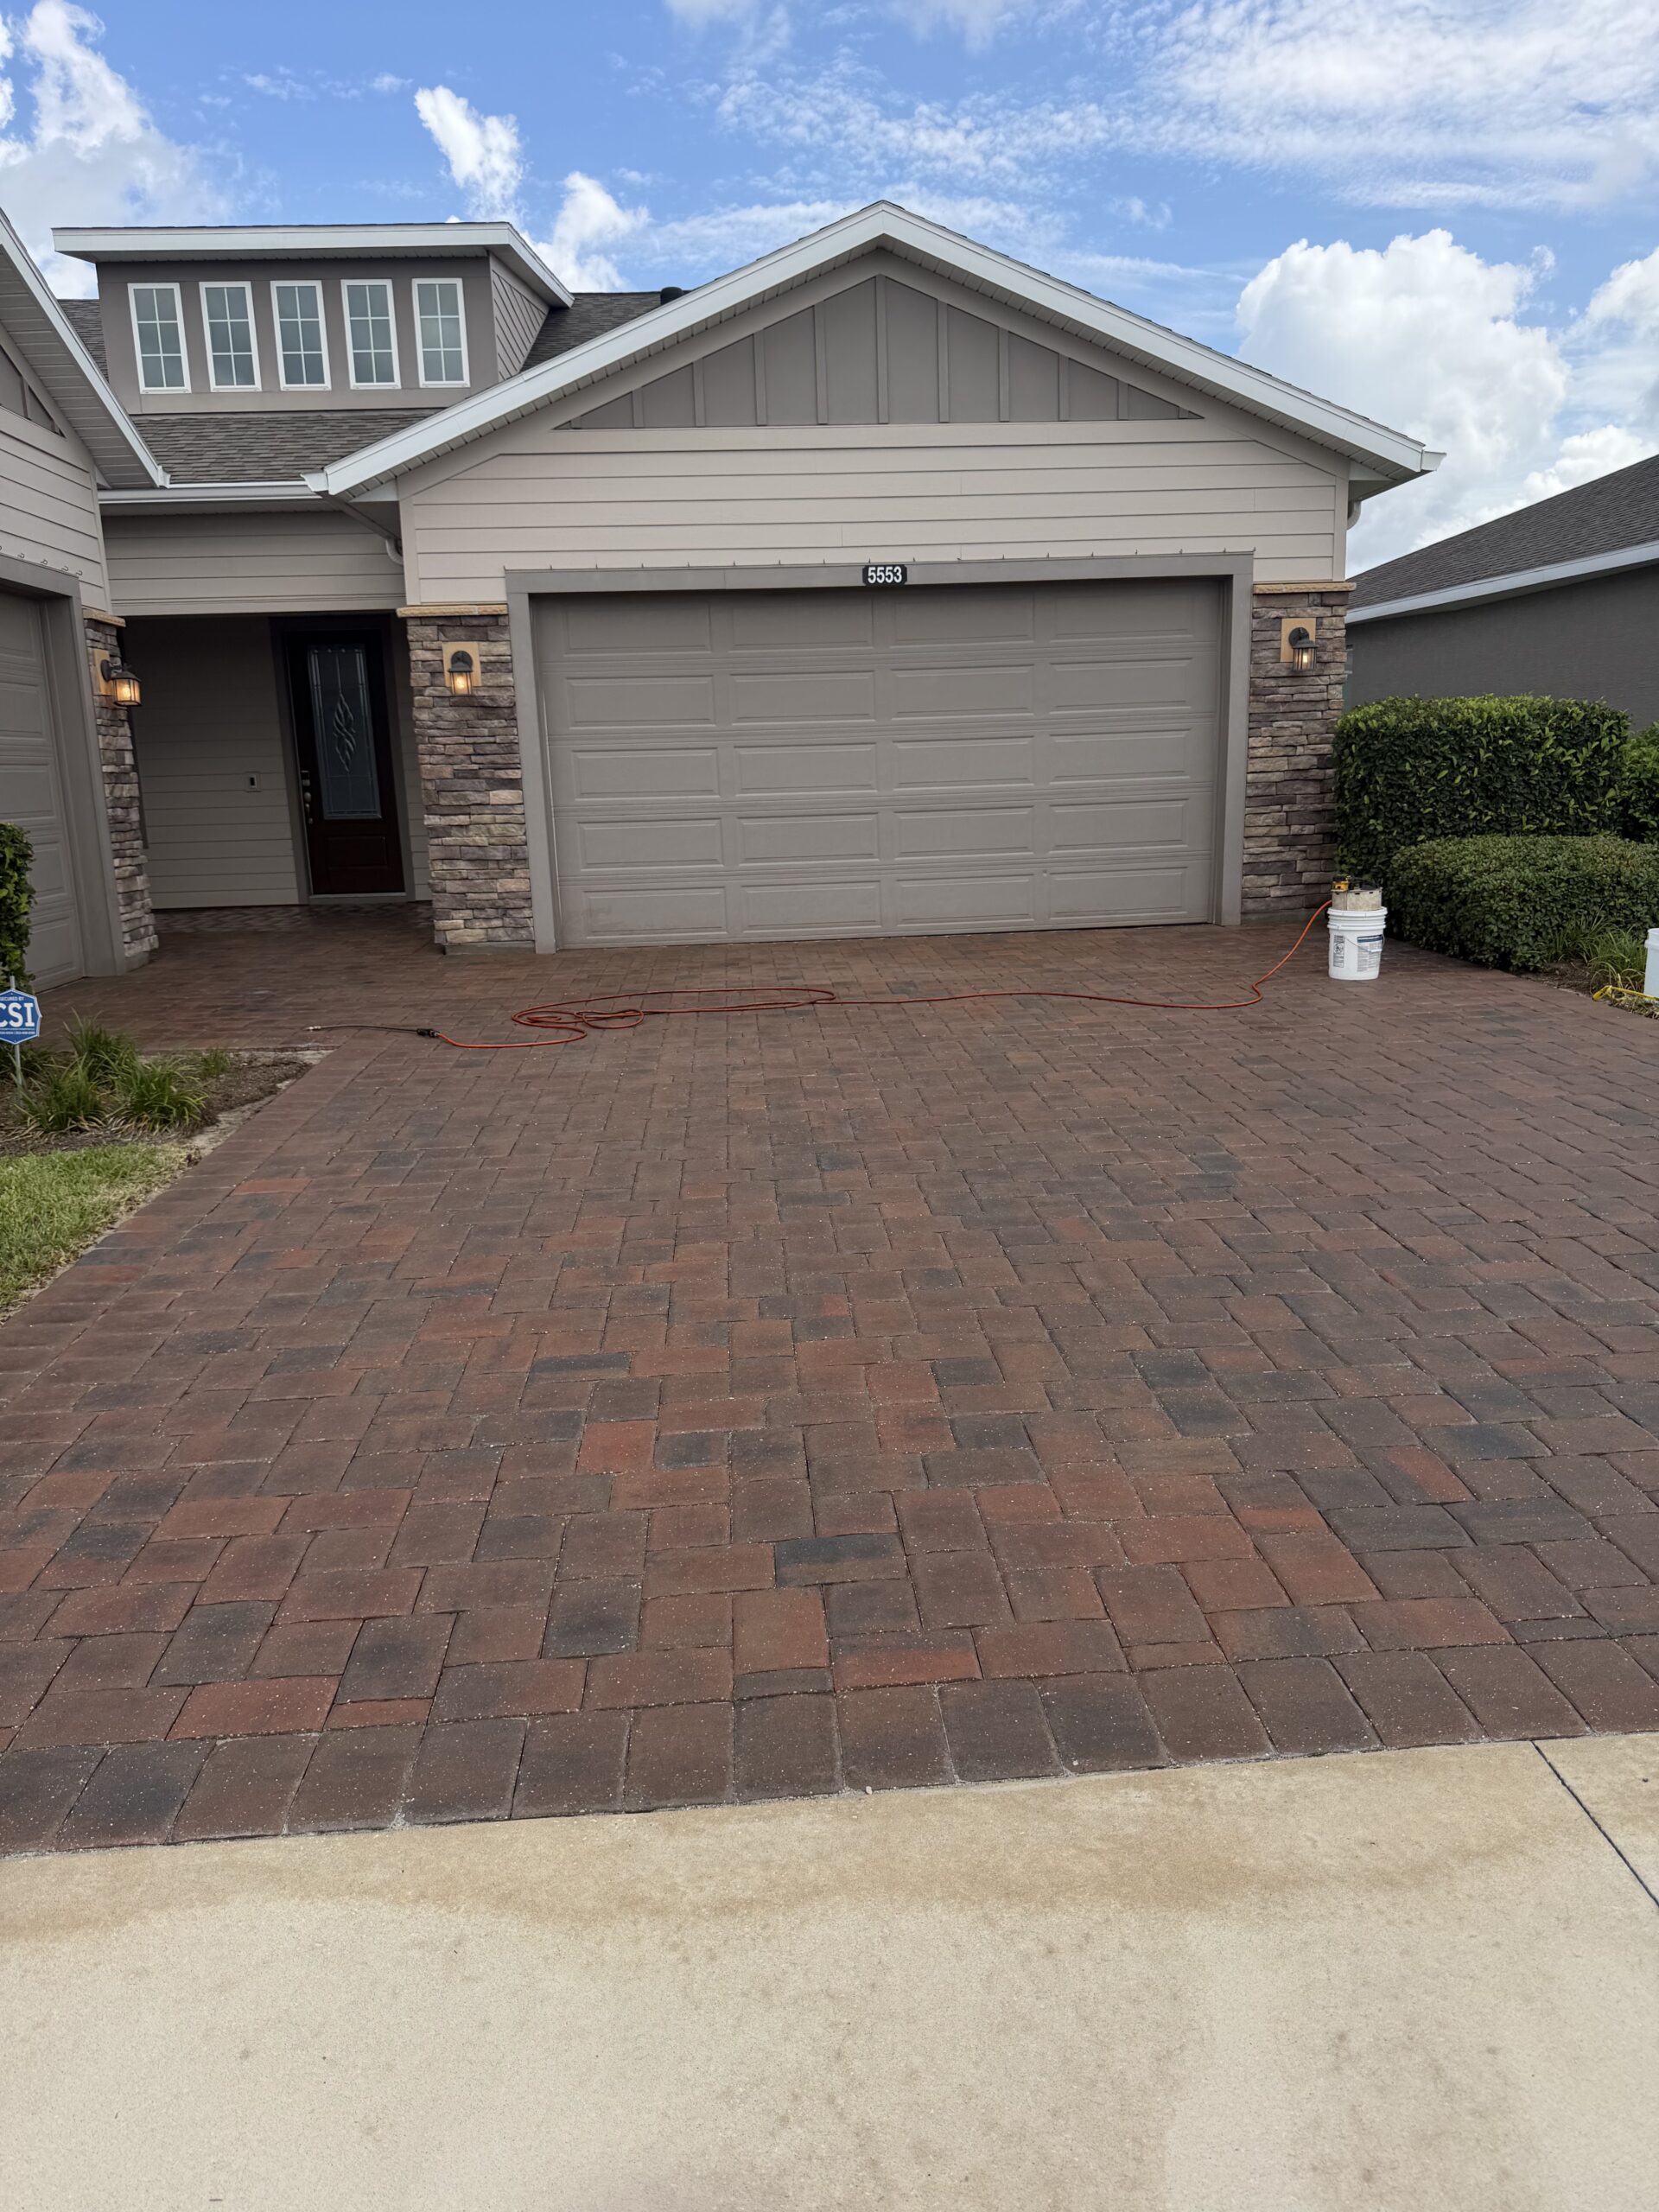
This paver restoration project in Ocala Preserve, Ocala, Florida, was completed over a two-day period and involved much more than a basic paver cleaning. The pavers had accumulated algae, mildew, dirt, old sealer, and areas of paint that needed to be removed before the surface could be properly restored. Our process included deep cleaning, three stripping applications, resanding with custom-colored joint sand, aqua compaction, joint preparation, and two coats of paver sealer.

Day 1 – Deep Cleaning the Pavers
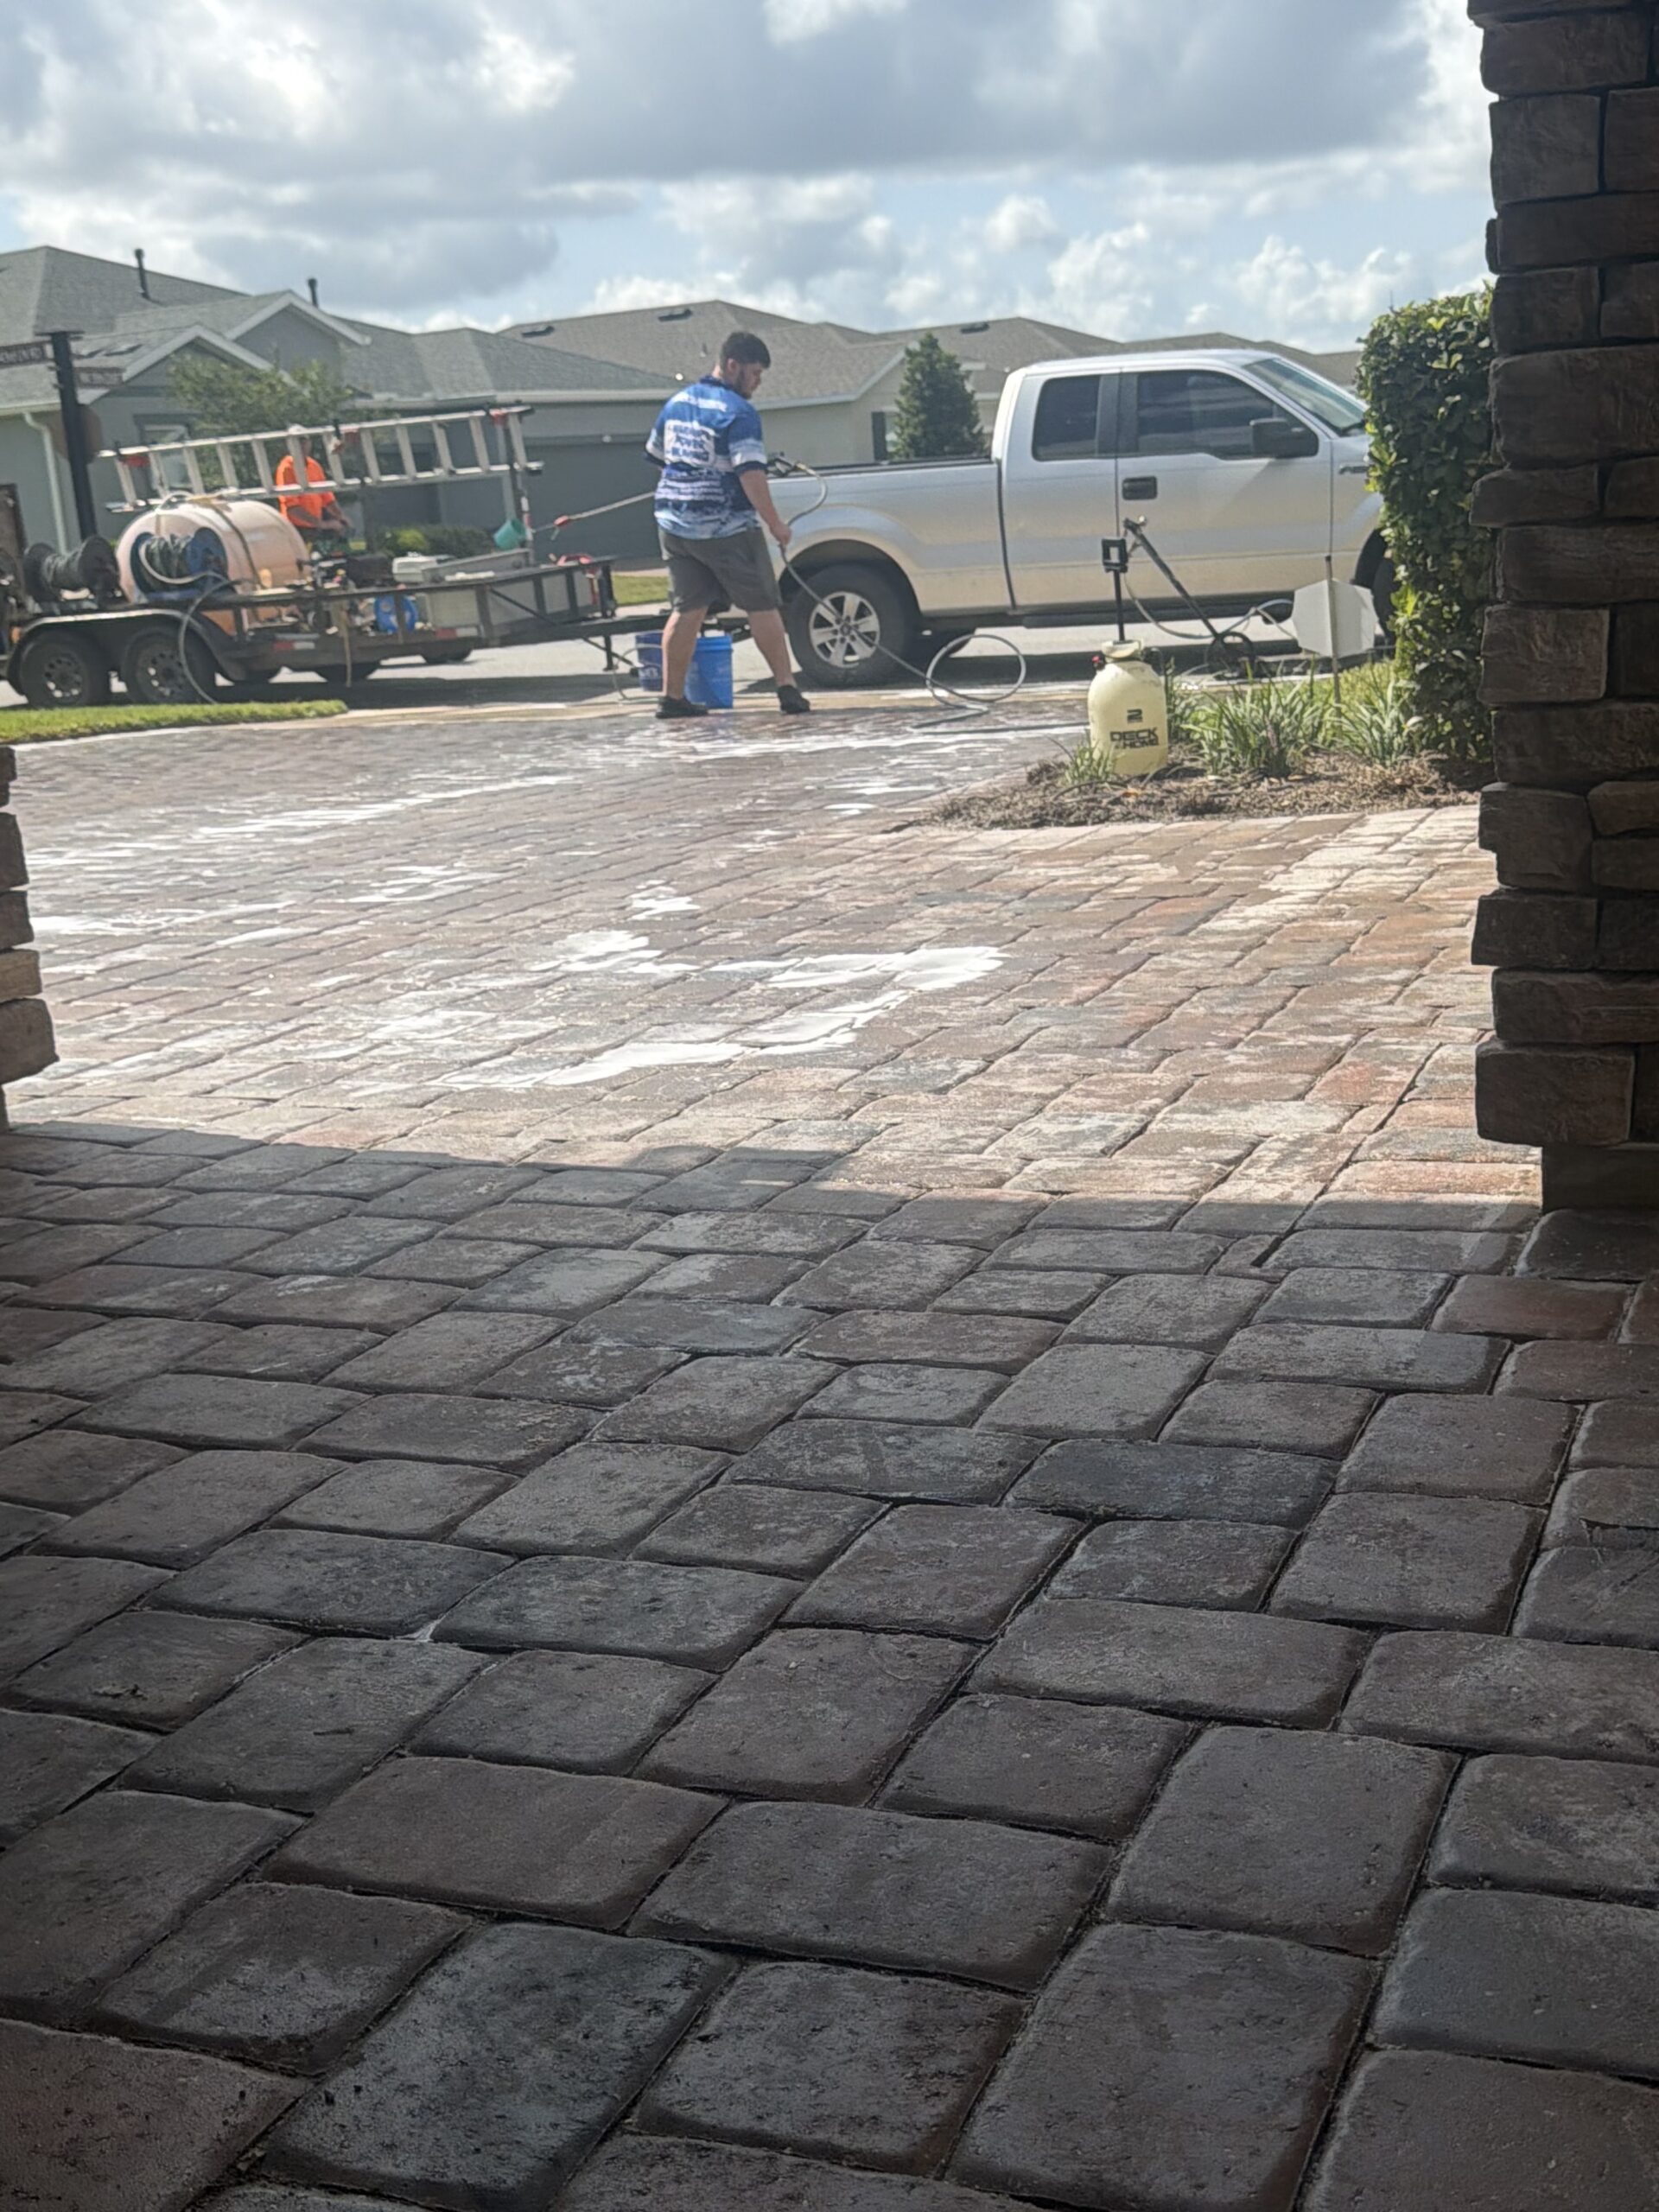
We started Day 1 by thoroughly cleaning the entire paver surface.
Our goal was to remove as much algae, mildew, dirt, organic buildup, and surface contamination as possible before beginning the stripping process.
Getting the pavers properly cleaned allowed us to better evaluate the condition of the surface and begin removing the old coatings.
Removing Old Sealer and Paint
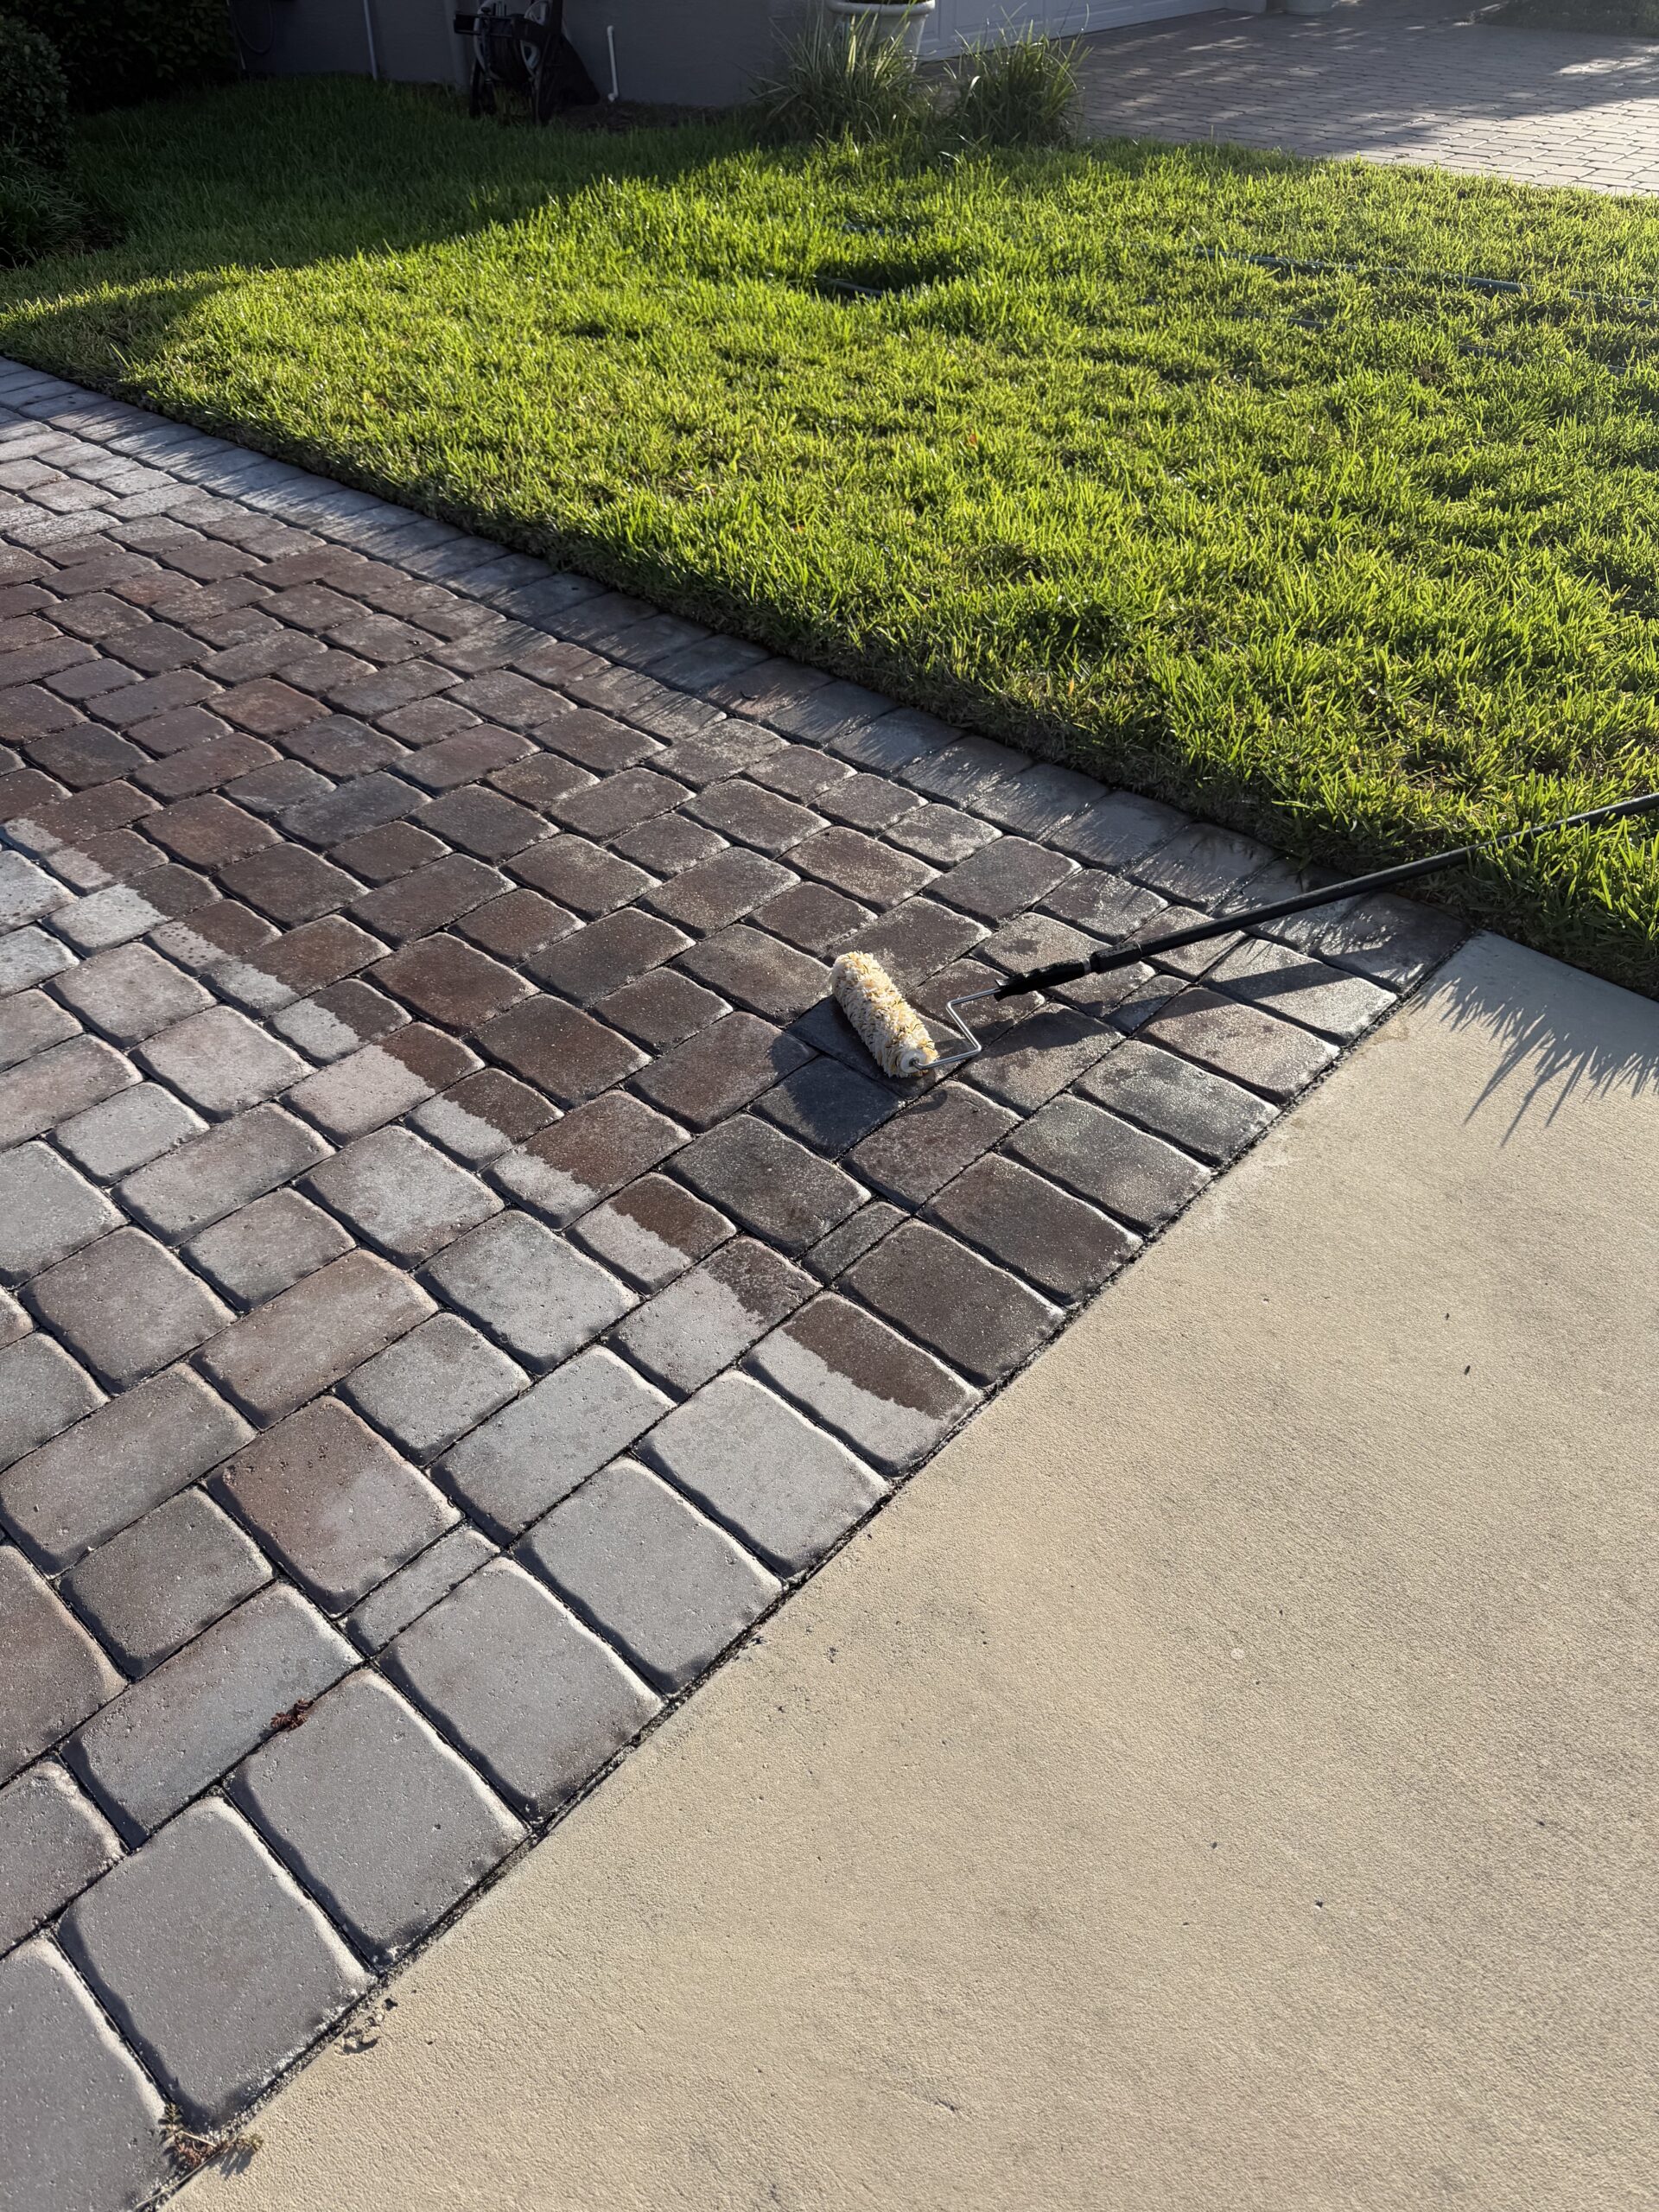
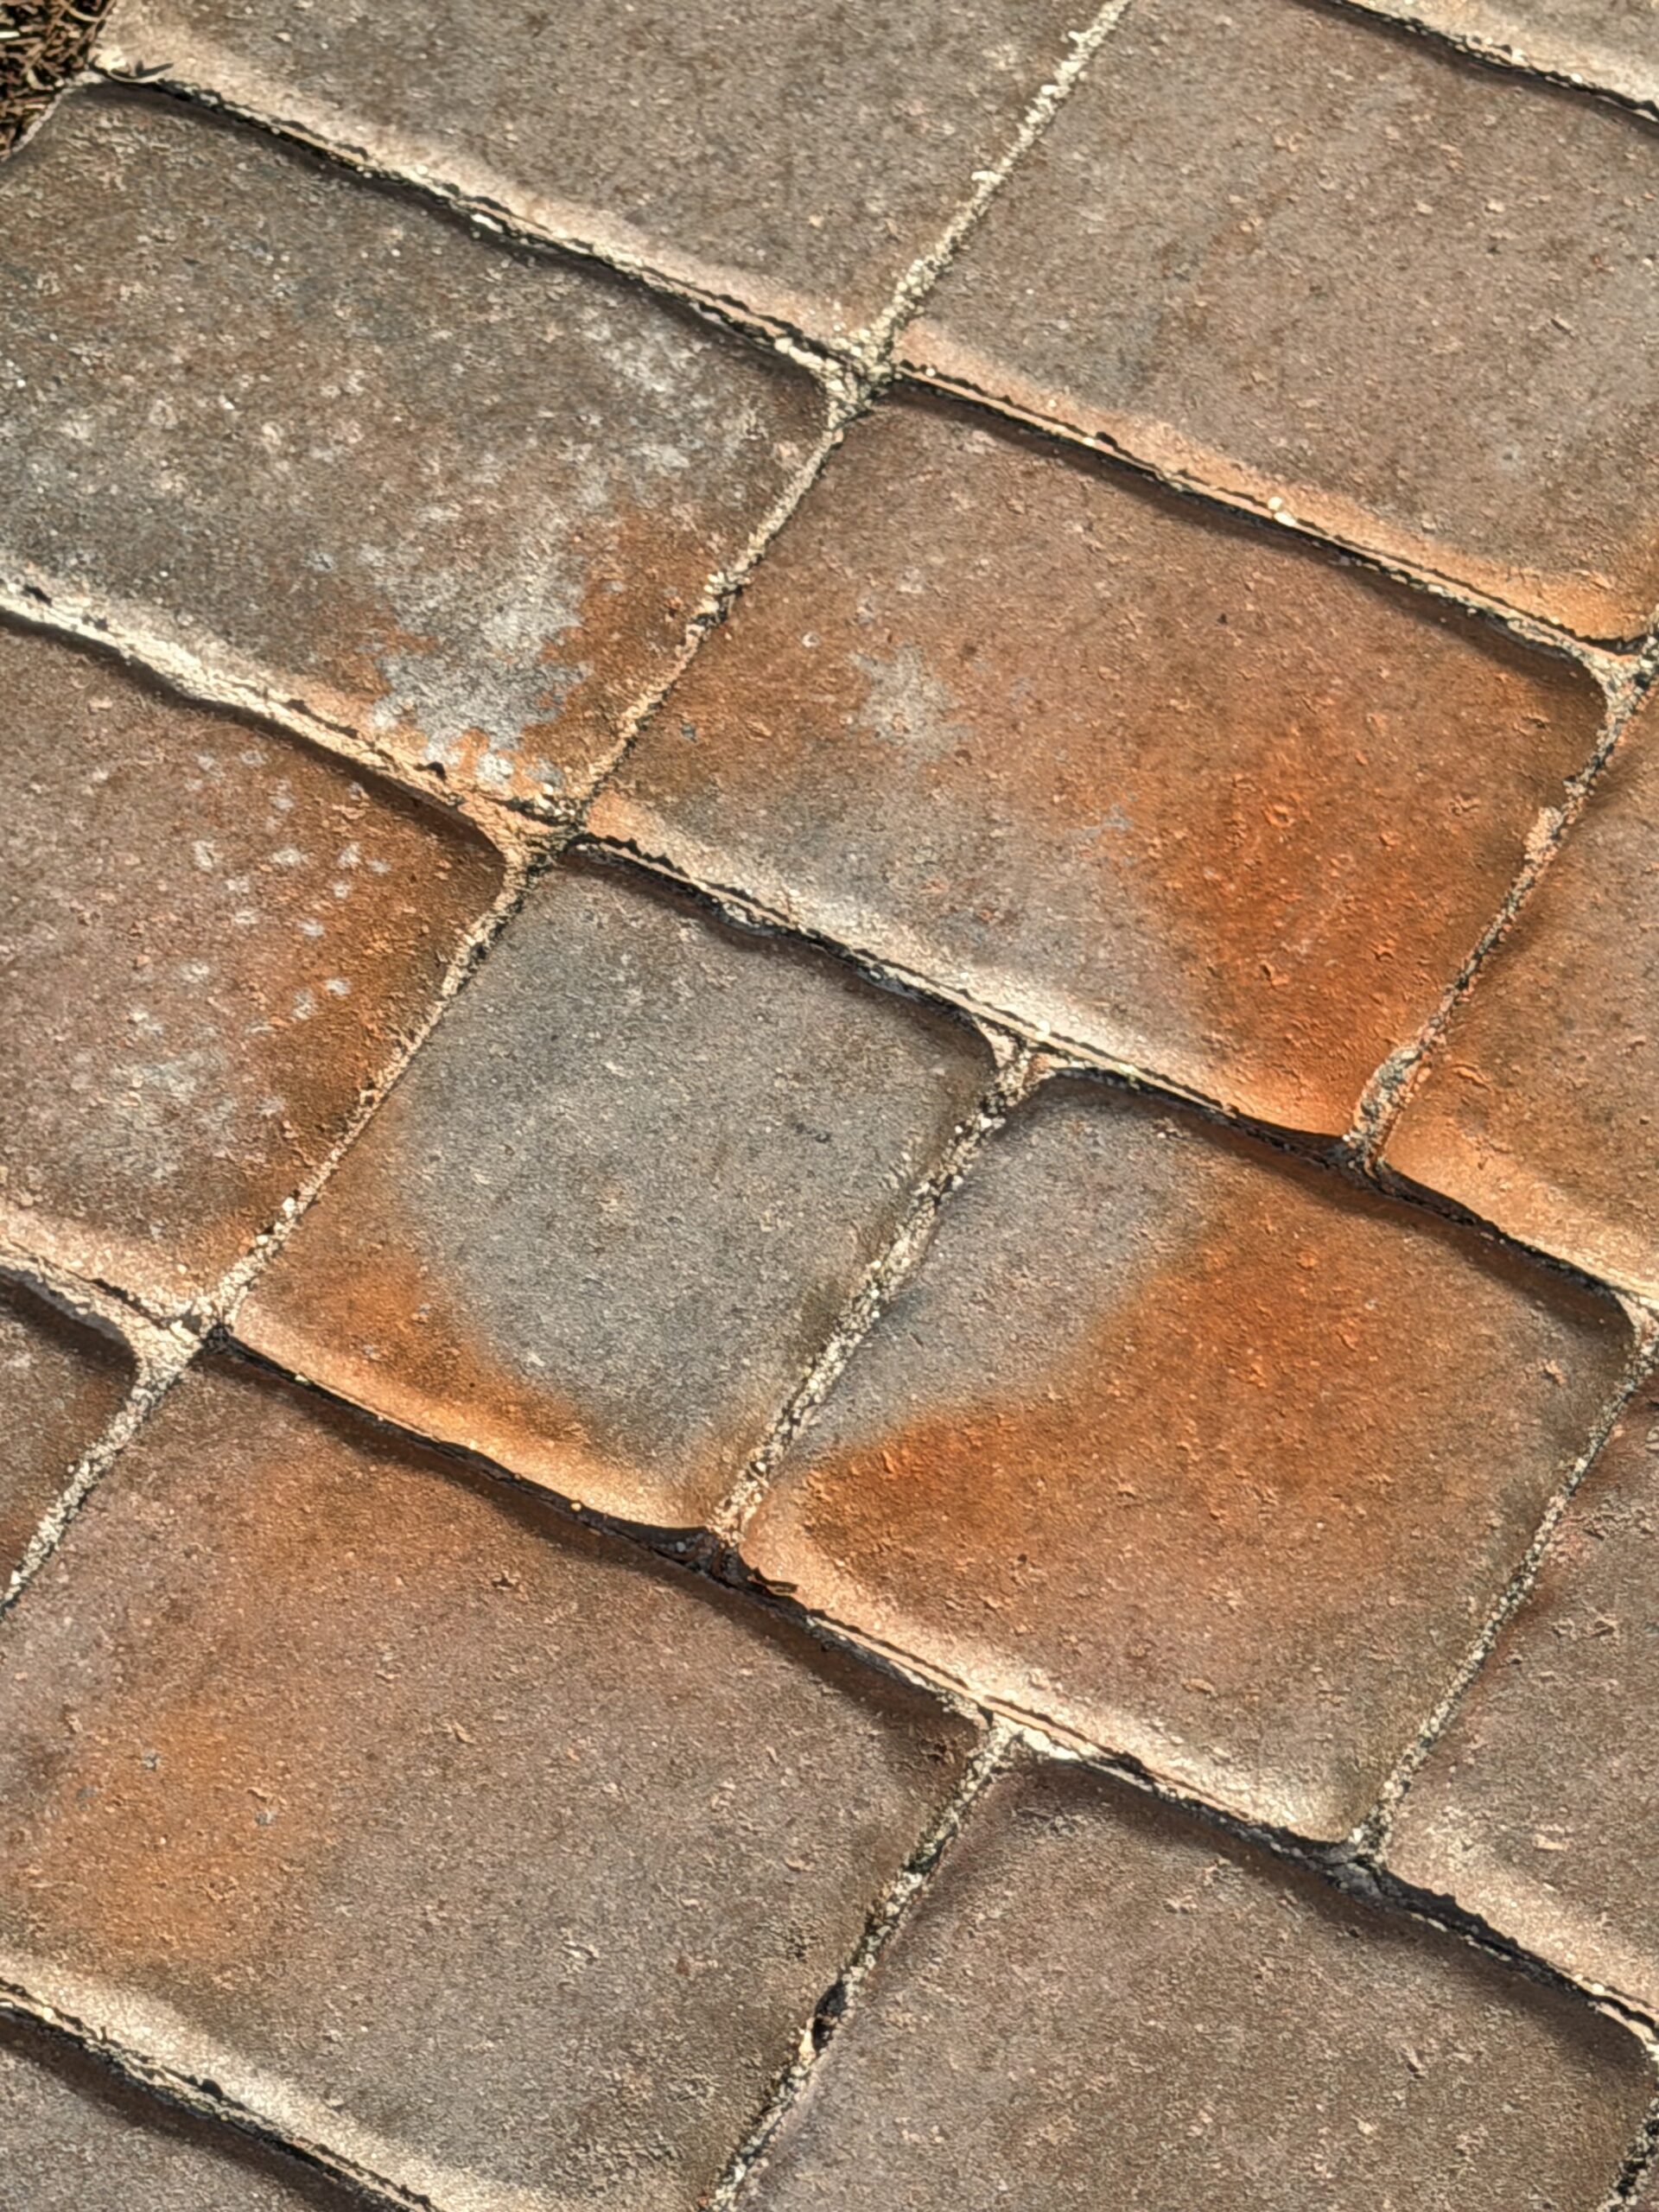
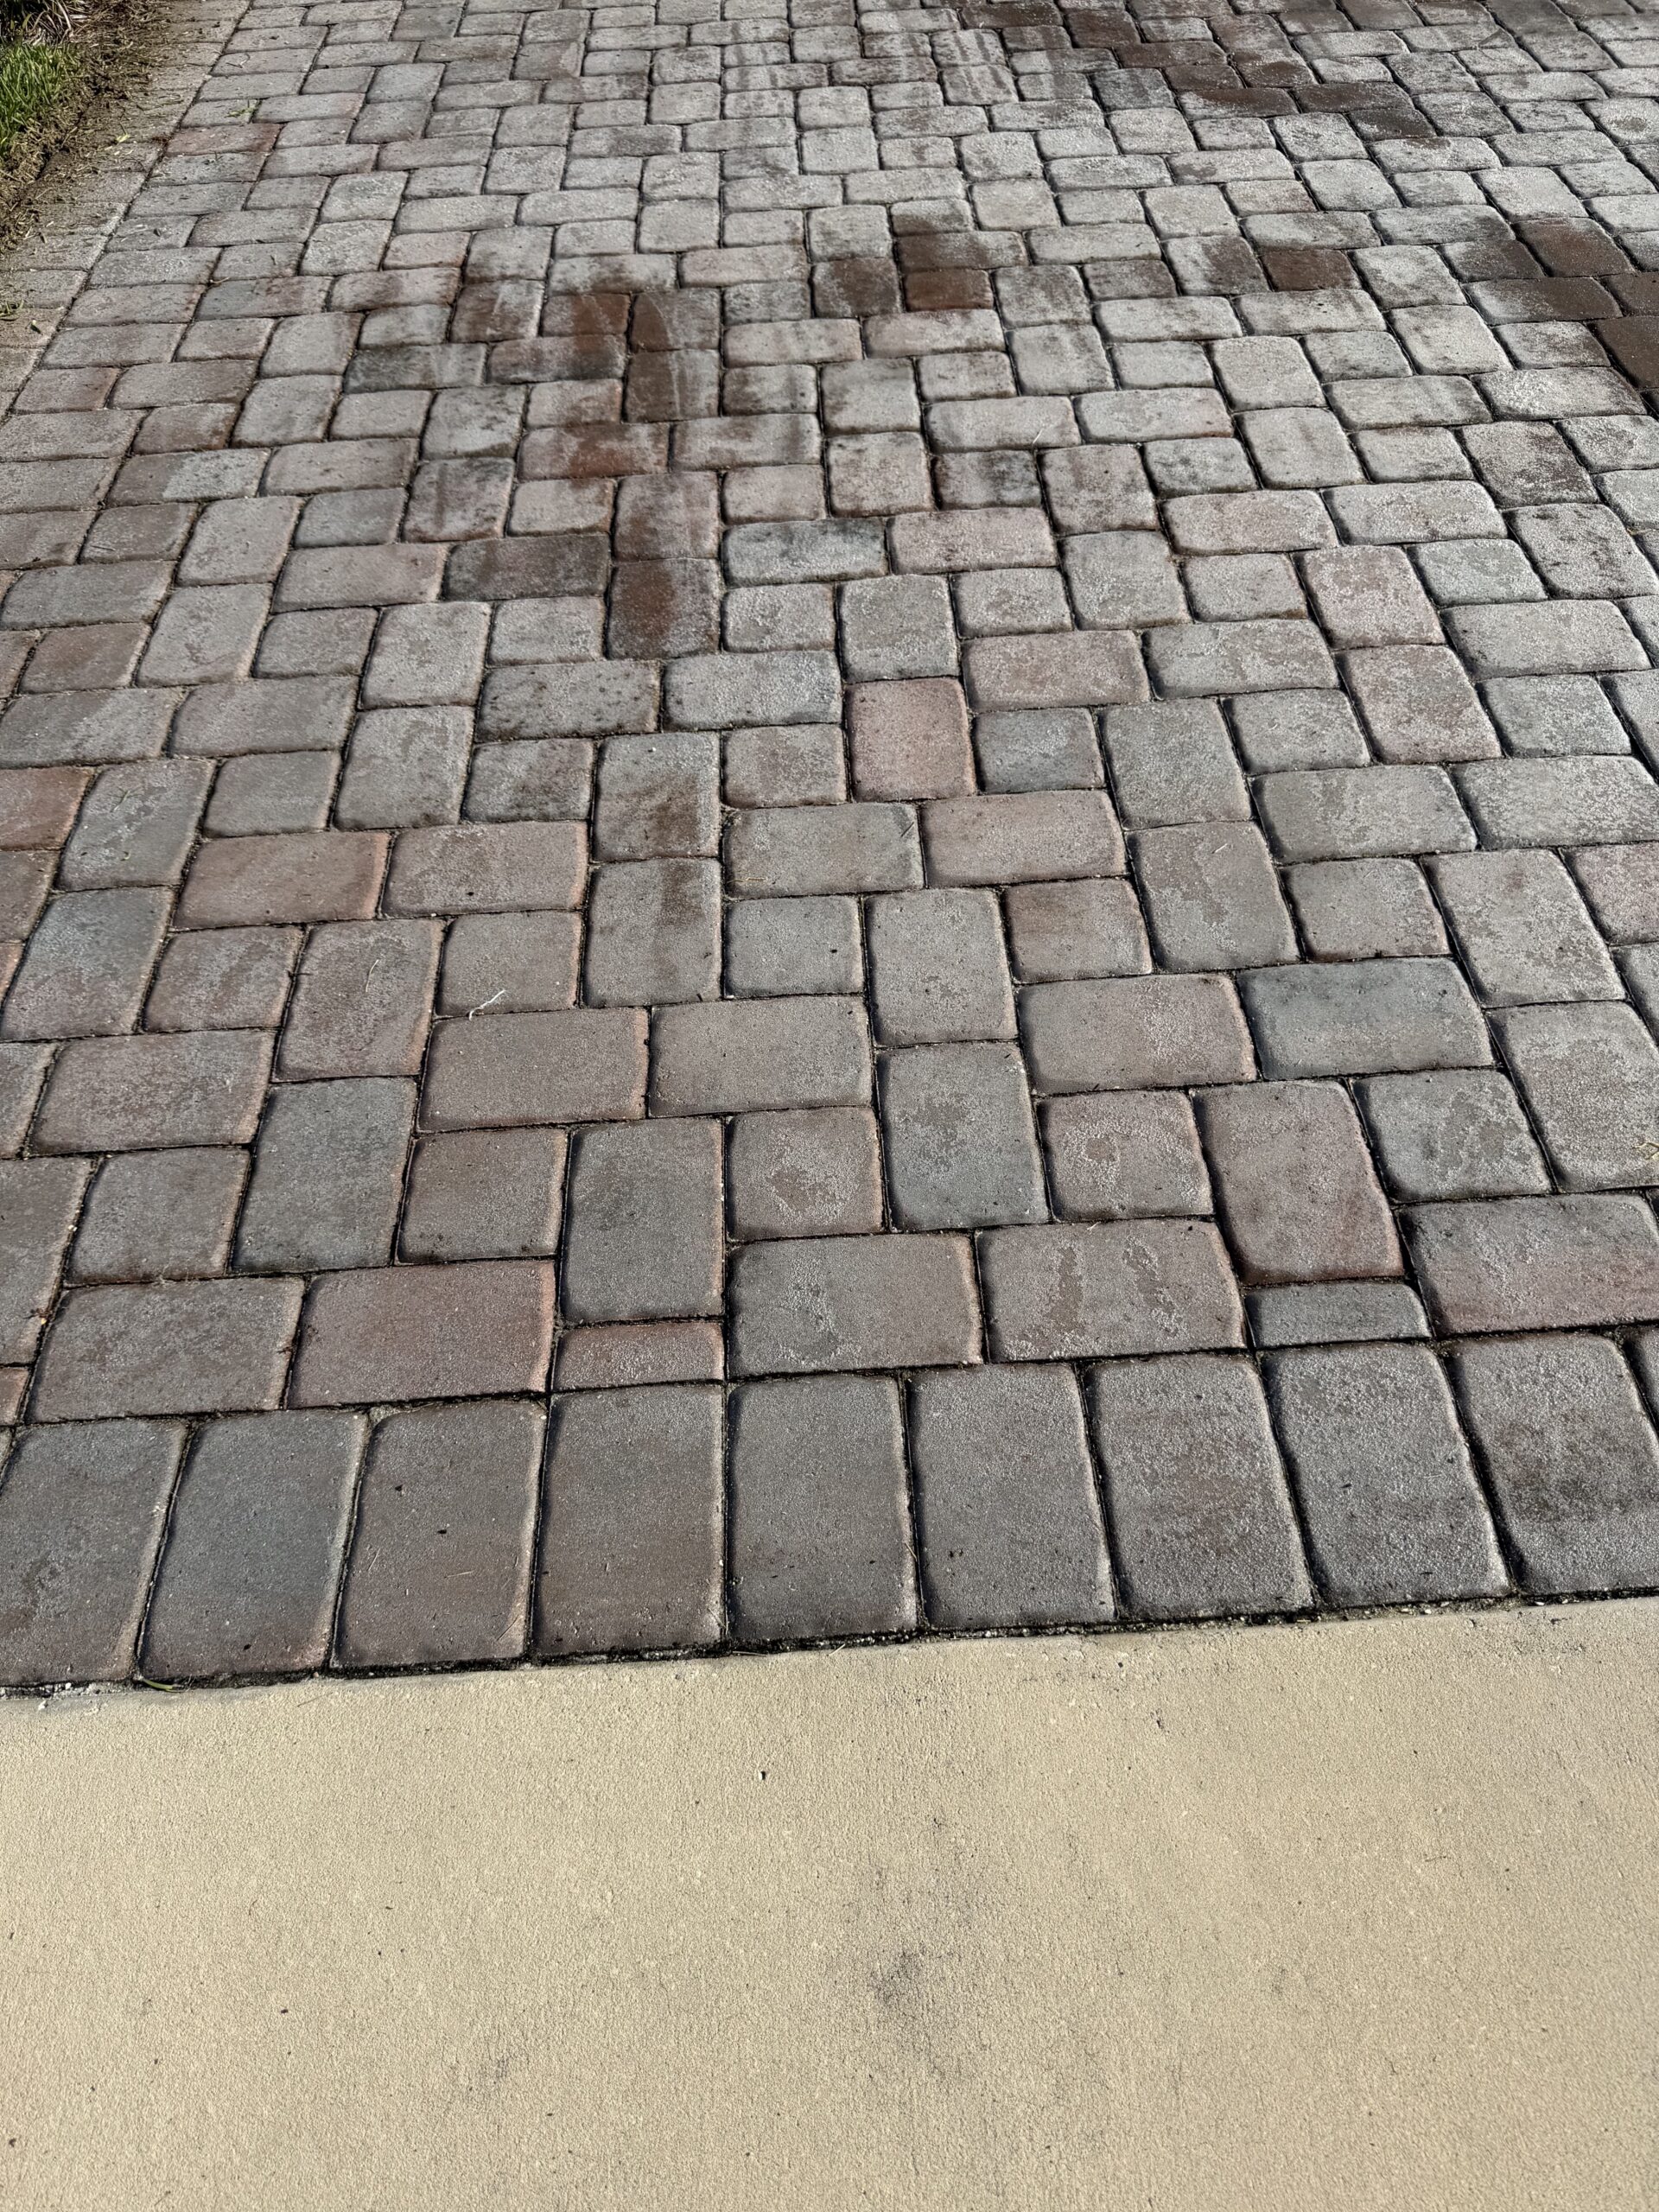
Once the initial cleaning was complete, we moved on to one of the most labor-intensive parts of this paver restoration: removing the existing paint and old sealer from the pavers.
We used Trident Tidal Wave Stripper to help break down and remove the existing coatings.
This was not a one-application-and-done project.
We repeated the stripping process three separate times to remove as much of the old paint and sealer as possible and properly prepare the pavers for the next stage of restoration.
Paver restoration sometimes takes patience. We don’t believe in rushing the preparation just to get to the sealing stage faster. Proper surface preparation can make a major difference in both the appearance and longevity of the finished project.
Resanding the Paver Joints
After the cleaning and stripping were complete, we moved on to resanding the paver joints.
We installed custom-colored joint sand selected to complement the existing pavers and then used our aqua compaction method.
Aqua compaction uses water to help settle and compact the sand deeper into the paver joints. This helps properly fill the joints, reduces voids, and prepares the sand for stabilization during the sealing process.
Once the sand was installed and compacted, we allowed the pavers and joints time to settle and dry before returning for Day 2.
Day 2 – Final Joint Preparation
Day 2 began by removing any excess sand remaining on the surface.
We then carefully went back over the project and rechecked the paver joints to make sure the sand was at the proper level before applying the sealer.
This is an important step. We don’t want loose sand left across the face of the pavers or excessive sand sitting too high in the joints.
Taking the extra time to inspect and correct the joint levels helps create a cleaner, more consistent finished appearance.
Applying Two Coats of Paver Sealer
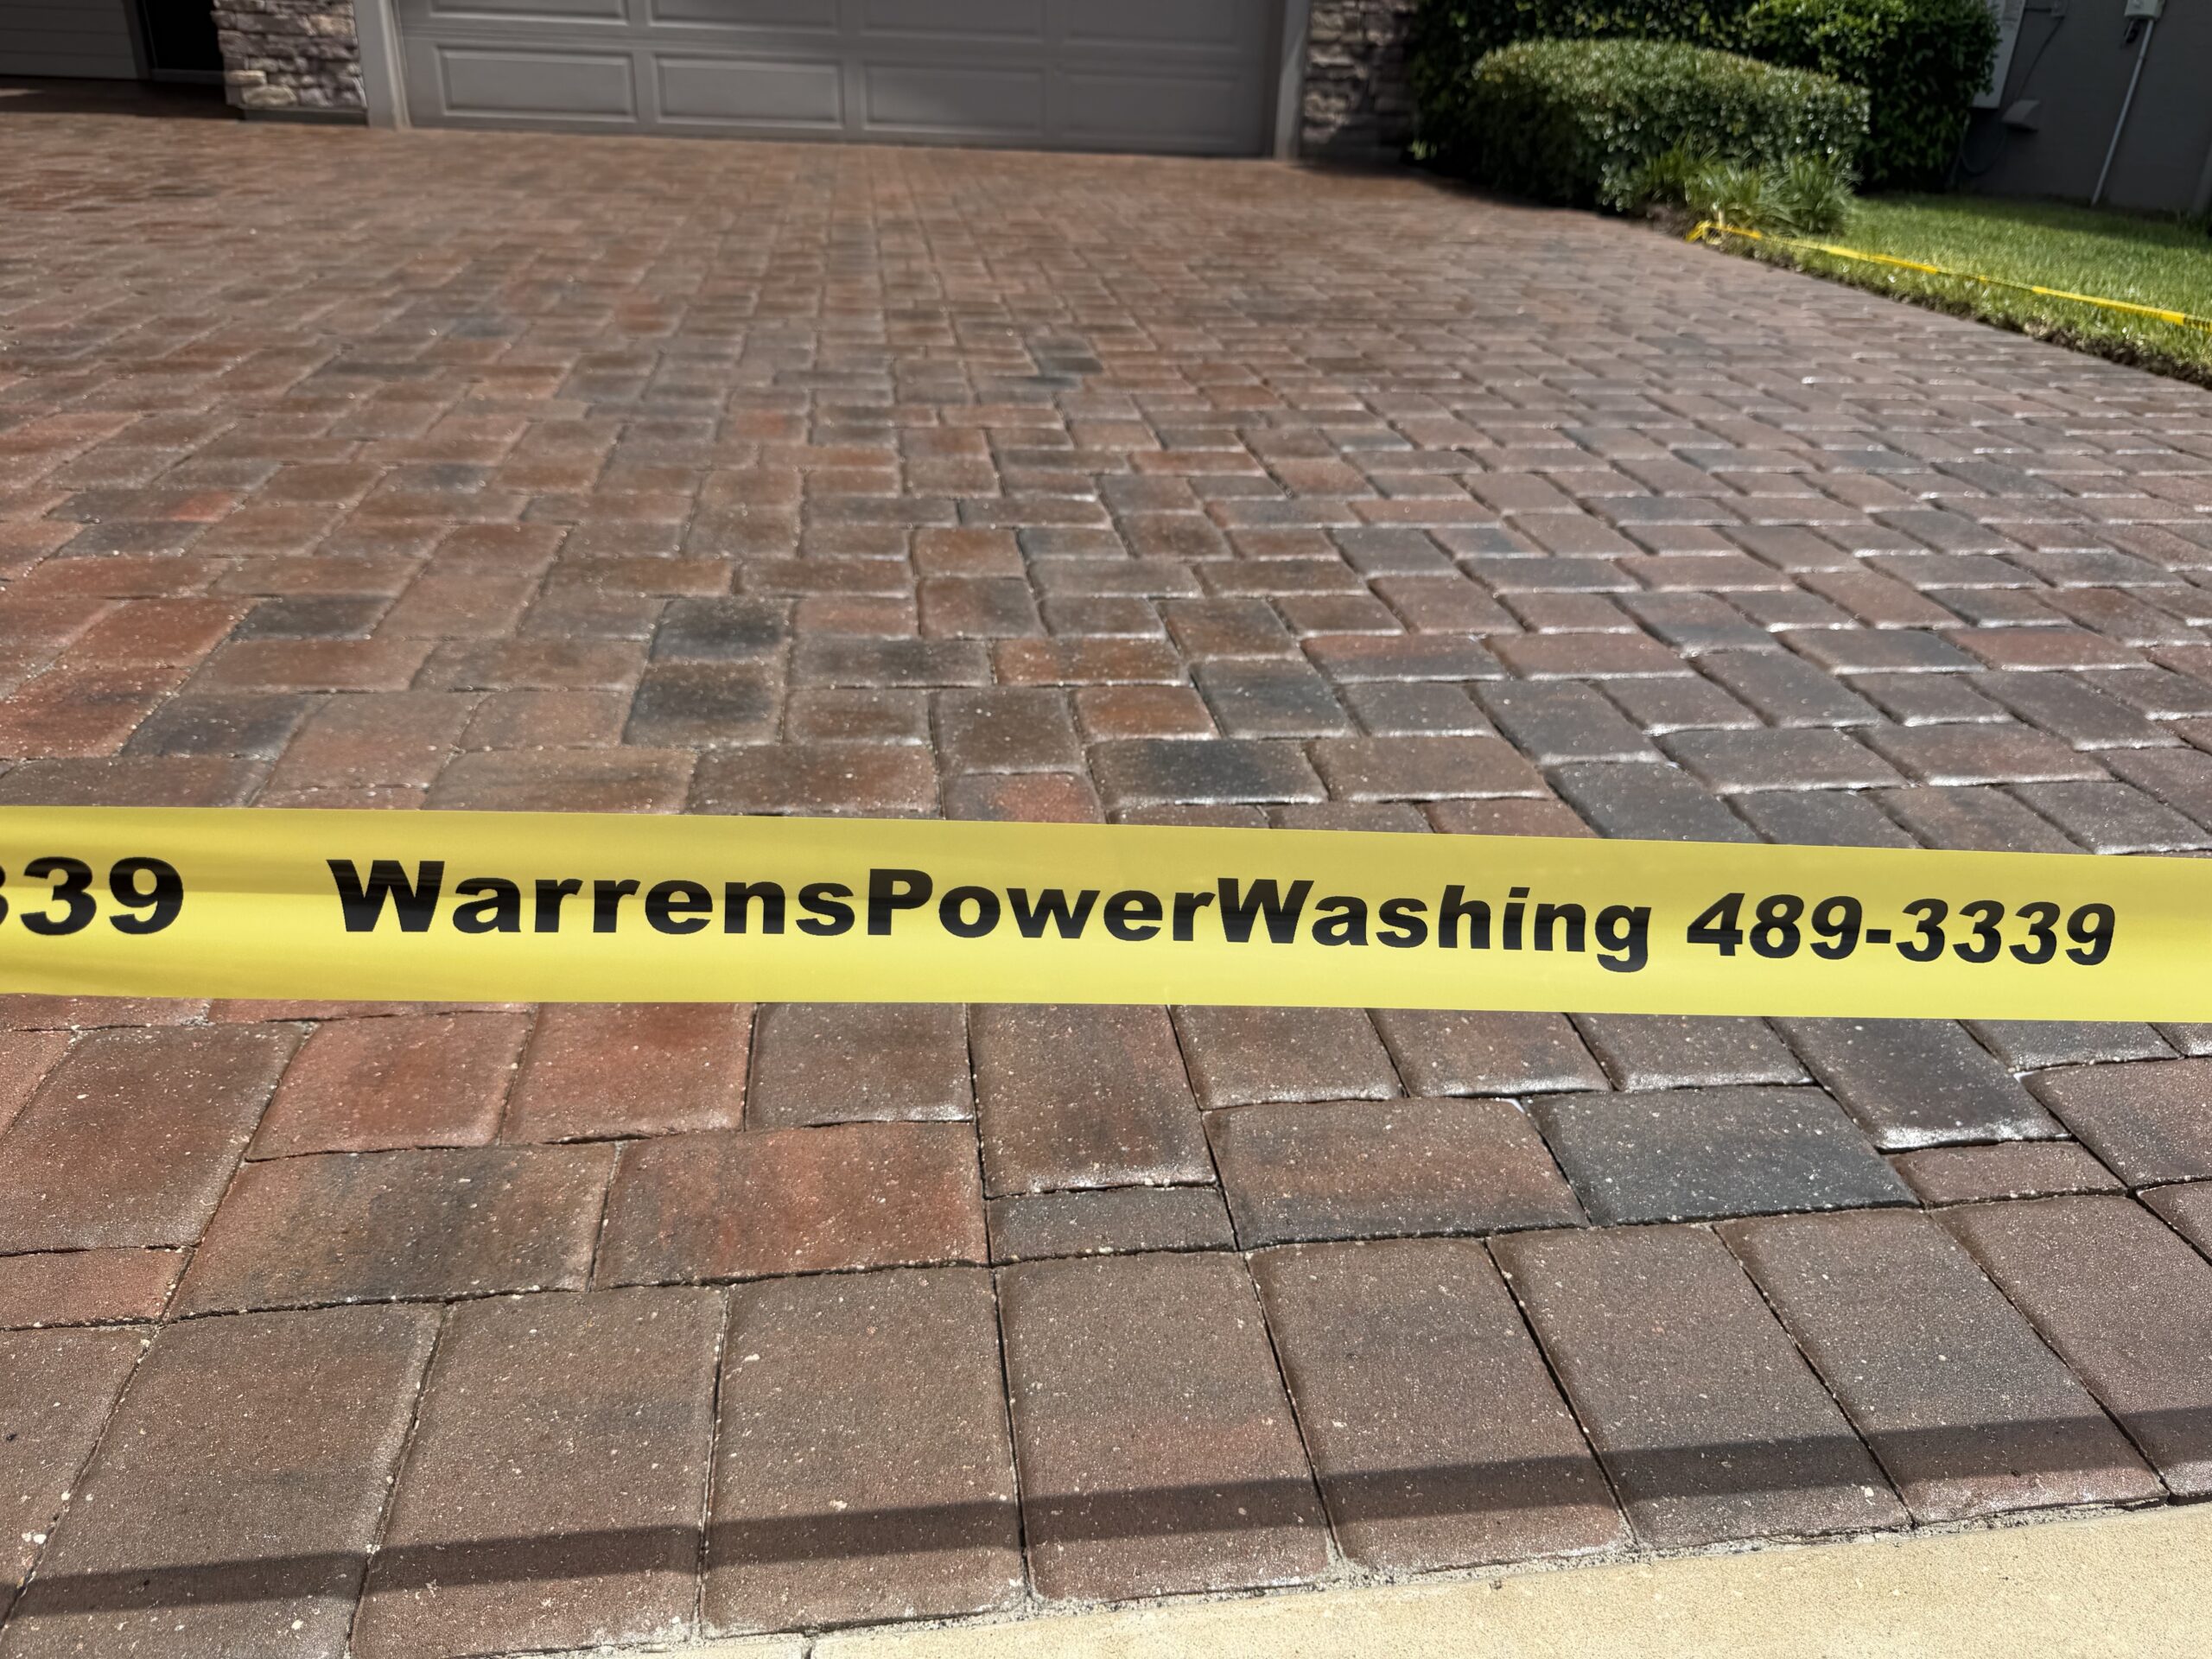
Once the surface and joints were properly prepared, we applied two coats of paver sealer.
The first coat penetrates into the pavers and joint sand, helping to harden and stabilize the sand between the pavers. Stabilized joints help keep the sand in place and can help inhibit weed and vegetation growth.
The second and final coat provides additional surface protection while giving the pavers their finished sheen and enhanced appearance.
The sealing portion may be what everyone notices at the end of the project, but the finished result begins with all of the cleaning, stripping, sanding, compaction, and preparation completed beforehand.
Allowing the Paver Sealer to Cure
After the sealing process was complete, we allowed the newly restored pavers time to properly cure before returning the area to normal use.
For this project, our recommended cure time was:
Foot Traffic: Wait at least 24 hours before walking on the sealed pavers.
Vehicles: Wait a minimum of 48 hours before driving on the pavers.
Furniture and Heavy Items: Wait a minimum of 48 hours before placing furniture, equipment, planters, or other heavy objects back onto the sealed surface.
Allowing the sealer adequate curing time helps protect the newly restored surface during the critical early stages after application.
More Than Just Pressure Washing Pavers
There is a big difference between simply pressure washing a paver driveway and performing a complete paver restoration.
This two-day Ocala Preserve project included deep cleaning, three stripping applications, removal of old paint and sealer, installation of new joint sand, aqua compaction, joint-level inspection, two coats of sealer, and proper curing time.
It’s the preparation and attention to detail throughout the entire process that helps us produce a finished project we’re proud to put the Warren’s Power Washing name on.
Do Your Pavers Need to Be Restored?
If your pavers have old or failing sealer, discoloration, algae, mildew, weeds in the joints, paint, faded color, or simply don’t look the way they used to, Warren’s Power Washing can help.
We provide professional paver cleaning, restoration, sanding, and sealing services throughout Ocala, Dunnellon, and surrounding Central Florida communities.
Let us evaluate the condition of your pavers and explain the restoration options available for your property.
Warren’s Power Washing
For All Your Exterior Needs
352-489-3339
18 Years of Experience